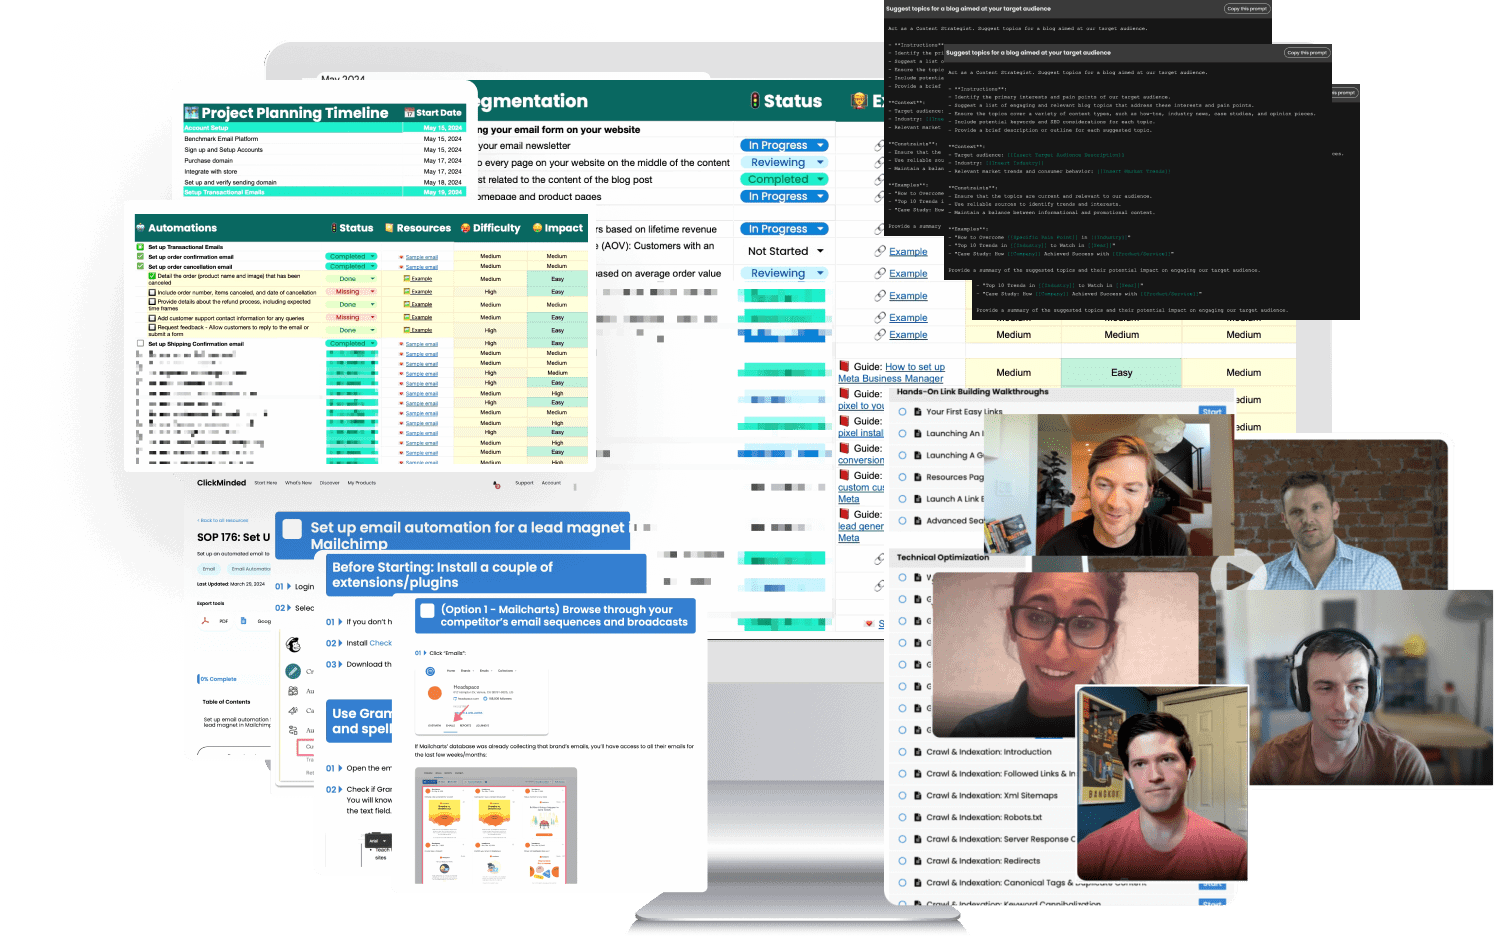
Learn exactly how to add the Facebook Pixel to your Squarespace site. The perfect guide for beginners and non-technical owners.
To begin with, we need to understand Facebook pixel and why it is important for your website.
The Facebook pixel is a piece of code created and managed by the Facebook Business Manager. This code allows you to track the behavior of visitors to your website and target ads to them and other similar consumers.
Your Facebook ad account generates a Facebook Pixel code. Implementing this code on the header section of your Squarespace account will record website visitors’ behavior.
Eventually, this will allow Facebook to better understand and target advertisements for your custom audiences.
For example, when a visitor looks at a product on your site, Pixel will read that information and display the visitor’s Facebook advertising for that product.
With the Facebook Pixel installed on your Squarespace website, you can:
- Launch Facebook Ads campaigns to recent website visitors and retarget them with ads.
- Discover new audiences similar to your visitors with Facebook’s lookalike audiences
- Perfectly track conversions from all your Facebook Ads campaigns
- Obtain massive insights about your visitor’s interests and demographics
The entire process of installing the Facebook Pixel will take you about 5 minutes from start to finish.
Important: this process requires you to have Google Tag Manager installed on your site—this is the tool we recommend you use to install and manage all your tracking codes, including the Squarespace Facebook Pixel. If you haven’t done this, here’s a guide on how to install Google Tag Manager on a Squarespace site.
Let’s get started.
Installing the Facebook Pixel on your Squarespace site
First, you’ll need to grab your Pixel ID from Facebook Ads Manager and add it to Squarespace using Google Tag Manager.
Go to your Facebook Ads Manager, dropdown on the top left navigation menu, and click on Pixels.
Click on the pixel you want to install on your site. If you don’t have a Pixel yet, you’ll be prompted to create one instead.
Click “Set Up”. Then, you will be presented with three options to install your pixel. Choose to Use an Integration or Tag Manager/Partner Integration
Click on Google Tag Manager from the list and select Quick Install (if you haven’t installed Google Tag Manager on your Squarespace site, check out this tutorial).
You will be prompted to sign in to the Google Account you use for Google Tag Manager and will need to allow Facebook to make changes.
Back in the Facebook Ads Manager interface, pick the Google Tag Manager account and container you want to use.
You will be asked If you want to turn on Advanced Matching. If you are an advanced Google Tag Manager user, you might want to configure it now. If not, leave it Off and click Next.
Next, you can choose to add more tags or edit existing tags. Since you just want to add the Pixel Base Code, for now, you will just need to click Next.
Make sure the checkbox for the Pixel Base Code is selected and hit Publish. The final step is to log in to your Squarespace account and then in the Home Menu> Marketing > Facebook Pixel & Ads. In the field next to Facebook Pixel, add your pixel code.
That’s it! Now we just need to make sure everything is working correctly.
Let us also learn to install pixel code manually on our website.
Manual Installation of Facebook Pixel Code
Come back to the step where you chose to Use an Integration or Tag Manager.
To manually install Facebook Pixel on your website using manual javascript event code select, the middle option Manually Install Pixel Code Yourself.
Scroll down to copy the entire Pixel Code.
Once you have copied your pixel code, go to your Squarespace website.
Log in to your Squarespace account and go to Advanced Settings. Here click on Code Injection and paste your Facebook pixel code into the Header section.
Click Save.
Cheers! You have successfully installed Facebook Pixel.
Now we need to make sure everything is working without any issues.
Testing your Facebook Pixel
Lastly, let’s make sure everything is working properly.
To do this, you’ll need to download and install the Facebook Pixel Helper Extension for Google Chrome.
Then, open your Shopify website using Chrome and click on the Facebook Pixel Helper Chrome extension.
The extension should be able to find at least one pixel, and it should match the Pixel ID on your Facebook Ad Manager.
What Visitor Data Facebook Pixel Tracks
Facebook allows your visitors to take specific actions on your site. To see what these events are, use Facebook Pixel Events Manager.
Here is a list of some Facebook Pixel event names and what action it performs on your site.
- ViewContent is the event when a visitor opens your Store Page.
- Search is the event when a visitor searches for your website.
- AddtoCart is the event when a visitor clicks on Add To Cart or Buy Now.
- InitiateCheckout corresponds to the visitor’s action to Checkout.
- AddPaymentInfo is the event when your customer continues the Checkout to pay.
- When your customer completes a purchase and proceeds to the order confirmation page, it comes under the Purchase event on Facebook.
- Lead is when a visitor signs up for the mailing list.
- CompleteRegistration when a visitor creates a Customer Account on your Squarespace website.
To track events in real-time go to Pixel Dashboard > Details > Analytics > Event Debugger.
Create a custom conversion using the category View Content to go deeper with your tracking and redirect visitors to your e-commerce product or a homepage that is important to you.
That’s it!
If you’ve been following along, you’ve now installed Facebook Pixel on your Squarespace site and made sure everything is working flawlessly. Setting up a site on Squarespace? Grab our Squarespace SEO checklist to maximize your site’s ranking potential right from the start.
If you have a WordPress or Shopify website, check out our articles on how to add the Facebook pixel to WordPress and Shopify.

90+ SOPs, Templates, AI Prompts, And Video Tutorials To Supercharge Your Business
Copy Our Insanely Powerful Paid Campaign Template
Get the Paid Ads ROI Boost Walkthrough sent to your inbox, for FREE!